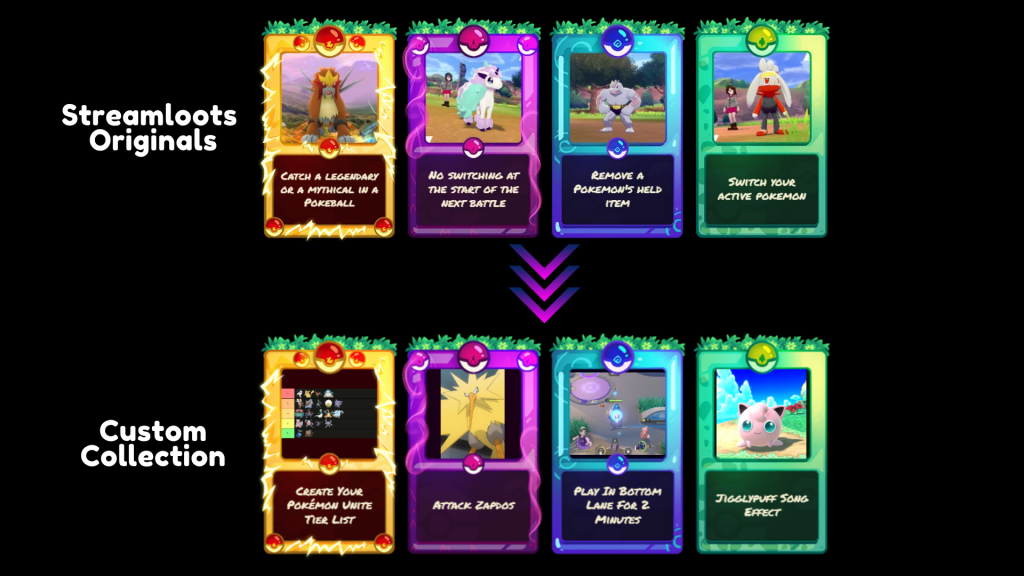
If you’re using Streamloots, you know there are two ways to add interaction cards: Streamloots Originals and custom cards. Streamloots Originals are premade cards for specific games or genres, perfect for getting started. But did you know custom cards can greatly boost your Streamloots experience?
Streamloots users who create custom cards earn on average 5x more than those who don’t. And you don’t need to start from scratch; there’s an easy way to create them.
We’ll show you how to create your first Custom Collection using a Streamloots Original Collection as a base. This will save you time and effort, helping you increase your sales.
Check out how Khaheri, a Pokémon Unite streamer, adapted a Streamloots Original Collection into her first custom-made collection, which became a big hit with her community!
Step 1: Choose the Base Original Collection
After deciding what your collection will be about and the interactions in your new cards, choose an Original Collection as your template.
- Create a new collection (go to the Creator Dashboard, select My Collections, then + Create Collection)
- Choose Streamloots Originals
- Pick the collection you want to use based on the card design.
Next, add one card from each rarity level: Legendary, Epic, Rare, and Common. This way, you’ll have a template for each rarity. Use the Clone and Edit Card features to customize each card’s interaction.
To create the Pokémon Unite collection, Khaheri used the Pokémon Original Collection as a foundation, utilizing the Pokémon-themed frames without needing new designs.

Step 2: Adapt the Cards & Settings
Now, adapt your interaction ideas into the card templates from Step 1. Here’s what to keep in mind:
- Card Content Image: Choose an image that shows the interaction. You can design your own or find a suitable public image and adjust the size.
- Settings: Set the cooldown, timer, and other settings. Decide how often viewers can redeem the card, if it triggers a countdown on screen, or if it has limited uses.
- Instructions: Provide clear instructions for your viewers. Let them know any conditions for activating the card.
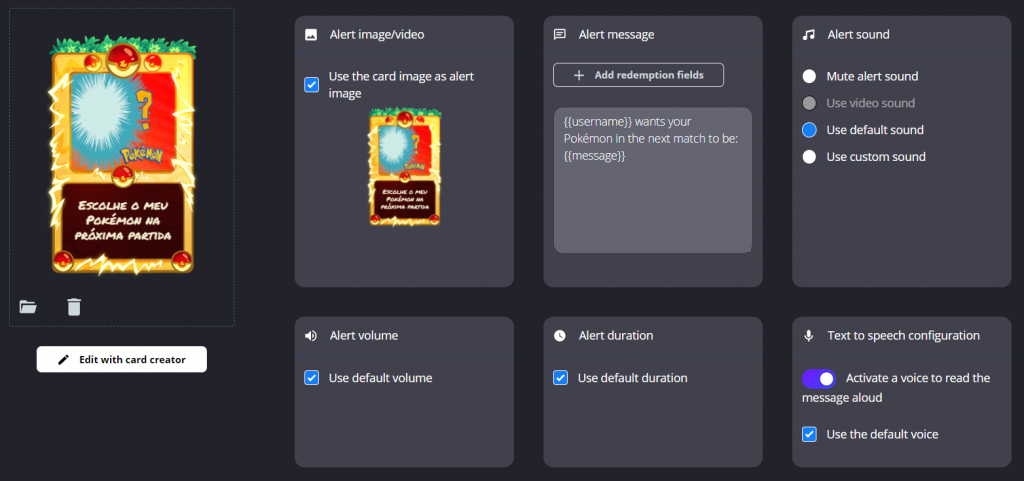
- Alerts: Choose the image, sounds, and message displayed when a viewer plays the card.
- Custom Integrations: Add custom Chatbot, Voicemod, or other integrations to specific cards. Check out articles for ideas on how to do this.
Here are some settings Khaheri used for her Pokémon Unite collection:
- Card Content: Showing which Pokémon she could pick when a card was redeemed.
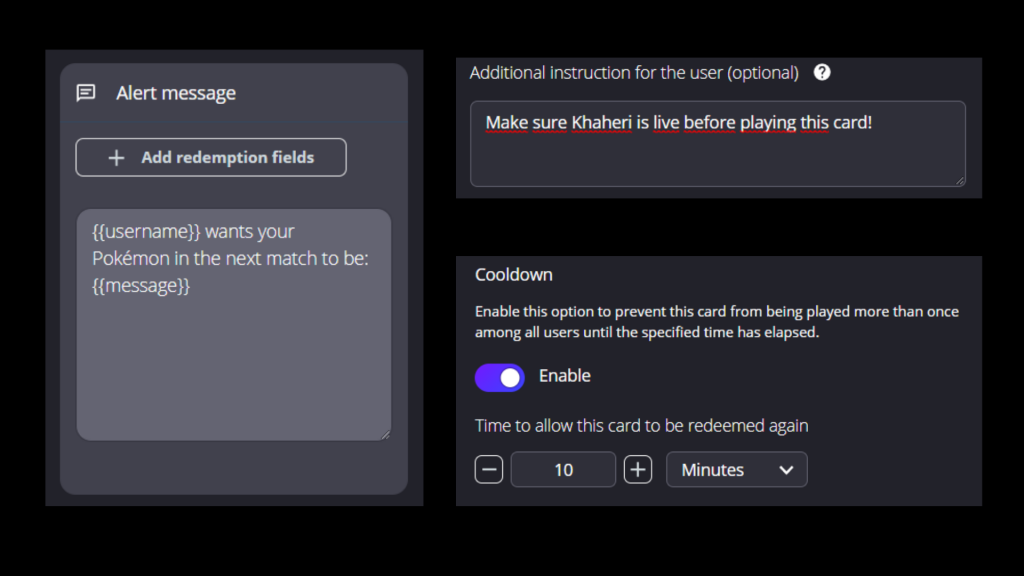
- Cooldown: 10 minutes for every card that requested her to pick a character for the next match.
- Instructions: Informing viewers to ensure she was live before redeeming the card.
- Alerts: Writing messages in Portuguese for her large Portuguese-speaking audience.
- Viewer Input: For the “Pick My Next Pokémon Card”, asking viewers to specify their choice when redeeming the card so alerts displayed that information.


Step 3: Publish Your Collection
Once you’ve created and customized your cards, it’s time to publish your collection.
- Review Your Cards: Make sure all the interactions, settings, and images are correct.
- Set Prices: Configure and decide how much each pack bundle will cost. You can adjust prices based on card rarity or interaction complexity.
- Publish: Click the publish button to make your collection live. Your viewers can now start redeeming and enjoying your custom cards.
